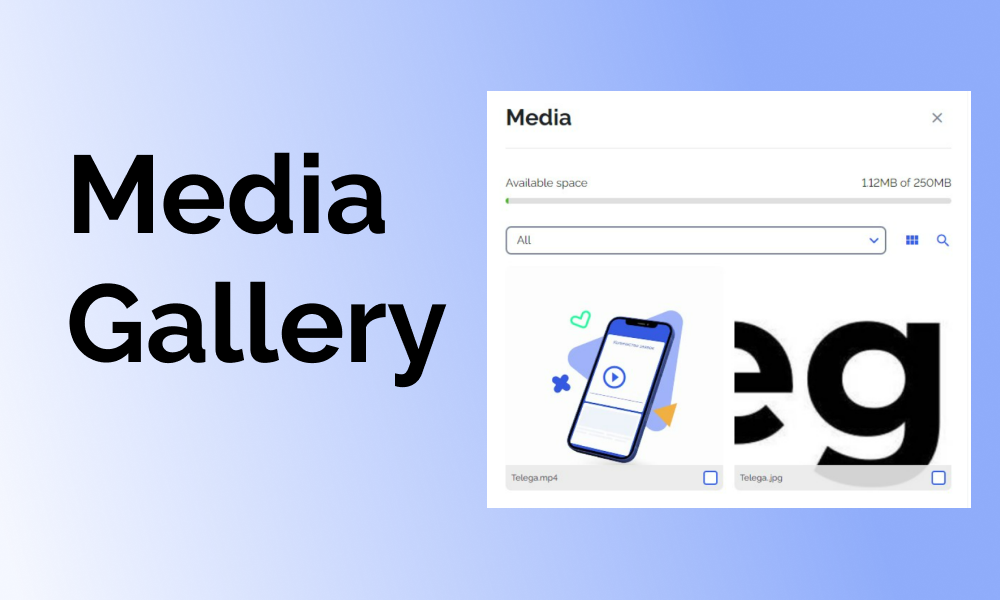
Great news for users: Telega.io now has a Media Gallery for faster template creation.
The Media Gallery is a repository of your uploaded images and videos you can use to create projects.
What is the Media Gallery for?
Now users can upload all the necessary media files to the platform and use them in templates to launch projects! A considerable advantage is that you will not need to search and upload pictures and videos every time you place an order. You can just find already downloaded files in the gallery.
Where can I find the Media Gallery?
You can access the Media Gallery from two sections:
1) Through “My templates.”
This section is located in the menu of your account.

1. Here, we click “Create template”:

2. The template creation section will open:

3. Click “Add” in the media block:

After that, the “Media Files” window will appear on the right, which is our long-awaited Media Gallery.

2) At the start of the project, at the stage of filling out the task for the channel owner.
You can also see the Media Gallery after starting the project launch and forming the task for the channel owner.
Media Gallery Interface
1. Let’s take a closer look at the “Media Files” window.

1 — “Available space.” Here, you can see the status bar, which will fill with a green bar as your storage is full. On the right, you can see how much space you have taken from the available.
All users are allowed to upload and store files up to 250MB.
2 — The button for uploading files to the gallery. You can download all the necessary files from a PC or smartphone by clicking this button.
Download requirements:
– there are no restrictions on resolution and size;
– picture format: GIF, PNG, Jpeg/Jpg;
– video format. The gallery supports all popular formats: mp4, MOV, WebM, and many others;
– the resolution of the video and its orientation (vertical or horizontal) do not matter.
3 — The button for changing the gallery view.
You can choose the grid view:

You can choose the list view:

4 — File search.
To avoid wasting time searching for the desired file manually, you can search for it using this button by name.
5 — File sorting.
To optimize the files in the gallery, you can sort them by Image/Video.

How to upload files to Media Gallery?
1. Click the “Upload Media” button.
2. Find the necessary files on the device.
3. Click open (you can attach several files at once when uploading).
4. Wait for the upload:

A rotating circle marks files in the process of uploading.
Note: The speed of uploading files to the Media Gallery depends on your Internet speed and file size.
Note #2: Enabled VPN can significantly increase file upload times.
5. Files in the Media Gallery, you are amazing!

The files are now uploaded and ready to be used in templates.
(!) Please note that you can upload files of different formats at the same time:
Gif, jpeg, mp4.
6. By clicking on the image, you can open it in full screen:

Videos have a “play” icon:

They can also be played by clicking on them:

You can add files to the Media Gallery as described above at any time in any quantity, as long as you have free space.
Adding files from the Media Gallery to a template
We have already learned how to add files to the Media Gallery, and now let’s see how to build a template with them!
1. In the “My Templates” section, create a “New Template.”
2. On the template editing page, in the Media files section, click “Add.”

3. The Media Gallery will open with the previously downloaded files.
Here we select the necessary files by clicking on the checkboxes:

And click “Add Selected.”
4. Files added to the template!
Congratulations, selected pictures and videos are in the template. Also, on the right, you can immediately see a preview of your template:

In the template preview, the video files have a blue “play” icon indicating the format of the media file.
5. You can add files or remove them from the template using these buttons:

Crucial Points
1. If you add a GIF file to a post, then no other media files can be in it.
According to the Telegram restriction, there can only be one GIF file in a post, and media files of other formats cannot be added to it.
So that you do not get confused when compiling a template, the system has several hints, for example, a text note.
The “Add” button also disappears, showing that only one GIF can be attached to a post.
In addition, if a file has already been added to the template, the system will not allow you to add a GIF to it.

The screenshot shows that when you try to select a GIF file additionally, the add button is simply disabled.
2. The number of files allowed for the template, according to the requirements for the Telegram post:
– 1 GIF;
– 10 images;
– 10 Videos;
You can combine any number of videos/images in one post, but no more than 10 files.
The system will also tell you about it in the template creation window.
3. Character limit.
Telegram has a limit on the number of characters in a post with and without media files:
– post with media — no more than 1024 characters;
– post without media — no more than 4096 characters.
To make your posts accepted by the messenger, we have added similar restrictions to the Telega.in platform:
– limit on a post with attached files — 1000 characters;
– limit for a post without attached files — 4000 characters.
The system will prompt you when you try to save a template with limits exceeded:


This is where we finish with the formation of the template, save it and proceed to orders.
The use of the Media Gallery in the task formation process
We have already mentioned that you can also access the Media Gallery at the project launch stage. Now let’s talk about this in more detail.
Initially, as usual, you choose a blogger in the Catalog and a placement script. Note that there are only three of them:
- One post for all channels
- Unique links for various channels
- Various posts and links for different channels
When choosing the first and second scenarios, you cannot proceed without a template.
But do not be confused; using a template only simplifies the task creation process.
How to apply a template:
Scheme 1
1. You choose a ready-made template from previously created ones:

The drop-down menu will contain all the saved templates; you only need to select the appropriate one and launch the project.
2) If there are no ready-made templates yet, you will see the following window:

Here you can write the text of the post, add files from the Media Gallery or upload images and videos to it if it is empty.
Please note that you will need to save the template before starting the project. The system will warn you about this need:

Next, just click “Create Template”:

The template is saved, and you are ready to go!
Scheme 2
Here the process is precisely the same; it remains only to set up unique links for channels:

In the following steps, there are no changes.
Scheme 3
The only thing that distinguishes the third scheme is that you can prepare a unique post for each channel without templates and launch the project.
However, working with templates is available in the same format as in other schemes.
Nice point:
There will be no problems with long video loading when adding a file from the Media Gallery.
Projects will be launched almost instantly as your videos are already uploaded to the server.
Still have questions?
Contact our support team via our support bot.
Stay up to date with the latest news
📱 Subscribe to our Telegram channel to stay up to date with the latest Telegram marketing news and service updates.


