Let’s look at the process of launching ads in Telegram through the Telega.io catalog.
Step 1: How to Select Channels in the Catalog
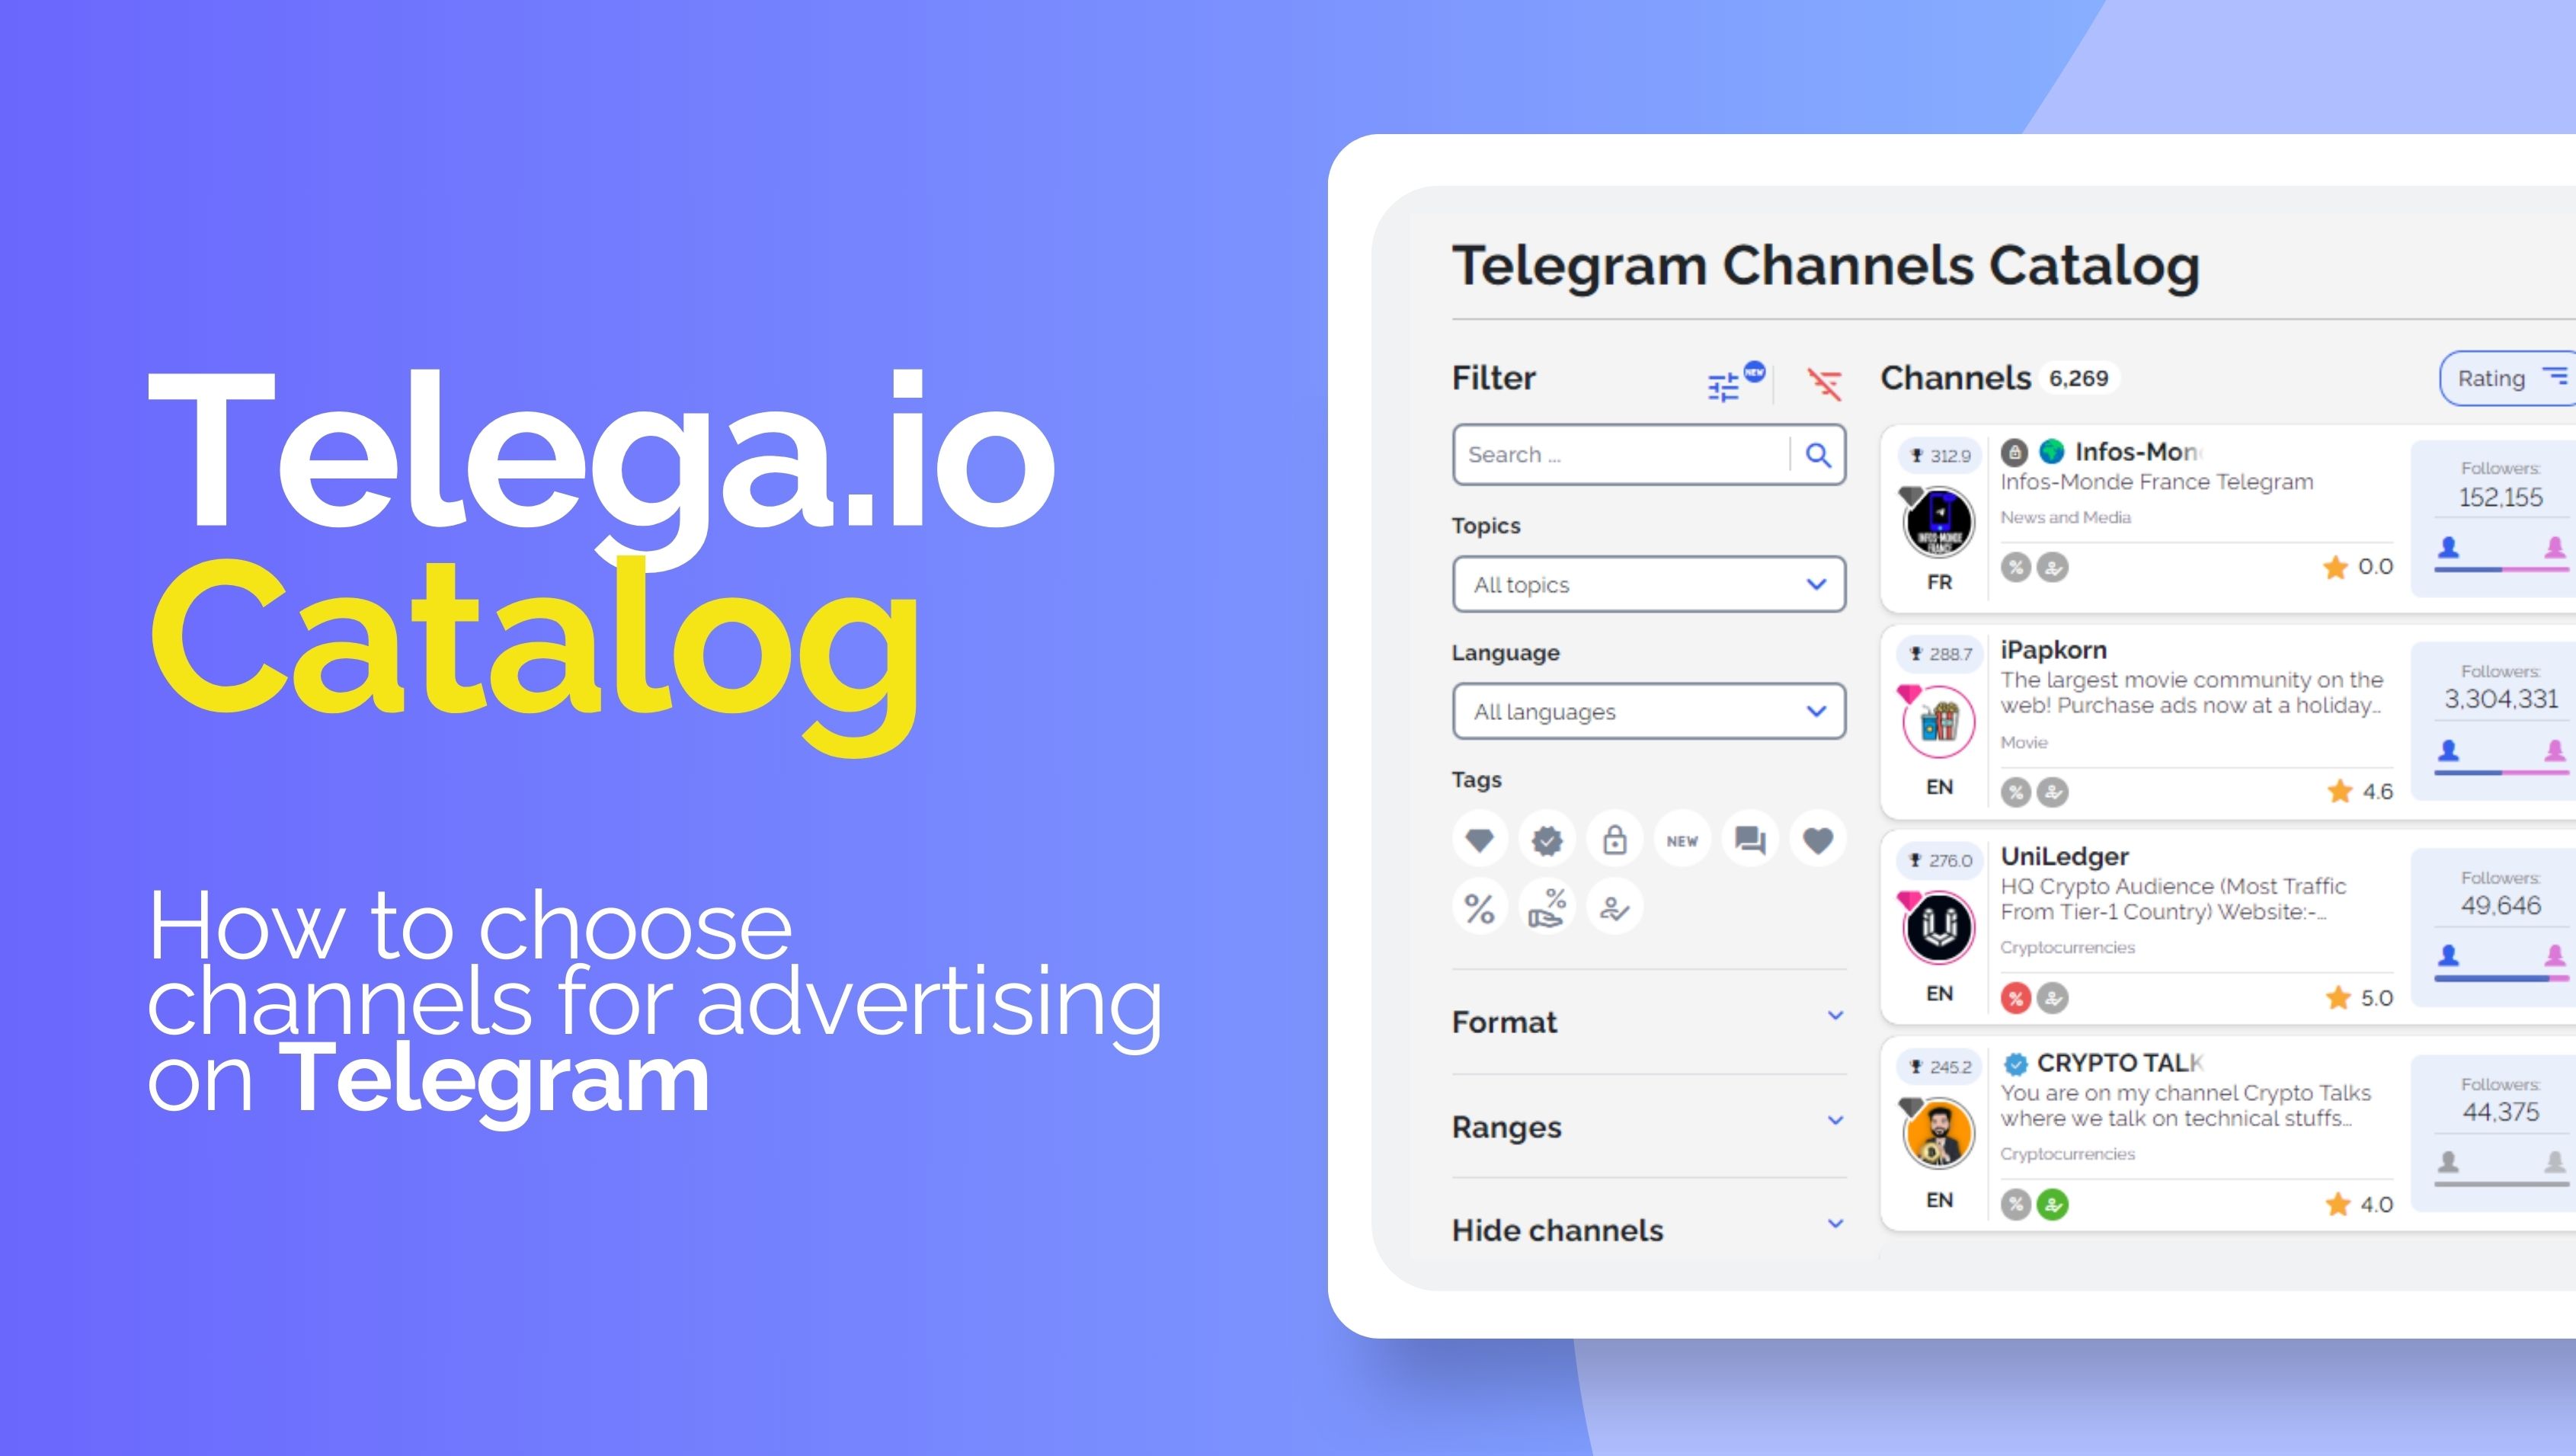
- Start your advertising campaign by selecting suitable channels from the catalog.
- To add channels to your cart, click Cart > Add to Cart

2. How to Work with the Cart
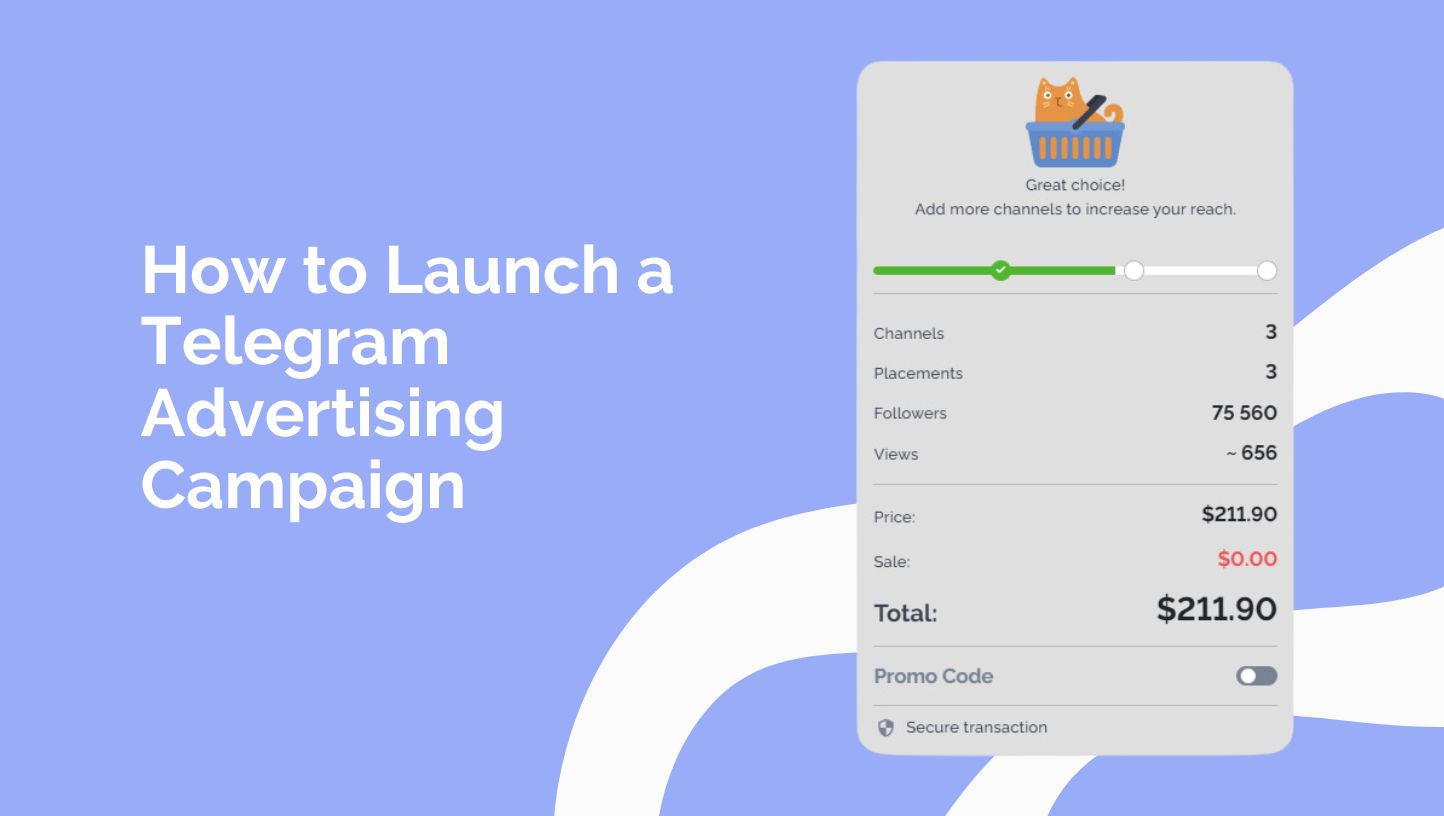
The shopping cart is organized into several important sections:

- Selected Channels: A list of channels you have chosen from the catalog.
- Recommendations: Often Bought Together, Top Rated in the Topic, We Also Recommend, Exclusive Discount
- Final Placement Information: Summary and details of your selections.
Let’s take a look at the important elements from the first section, depending on your objectives:
Specify the placement format
You can do this in bulk by clicking the ‘Actions’ button. Then the selected format will be assigned to all channels.

You can do this separately for each channel using the ‘Format’ drop-down selector.

Important: The system does not allow you to launch advertising campaigns with the ‘Forwards’ format alongside with other formats. If you want to buy reposts in specific channels, launch a separate project for them.
Specify the number of placements
Like the above, you can do this through the ‘Actions’ button or the drop-down selector. The option of more than 1 placement is suitable for advertisers who want to take 2 or more posts in the same channel on different dates in advance.
Add more channels
To increase the number of channels in your advertising project, you can add new channels in two ways:
- Manually: Click the ‘Add Channels’ button to return to the catalog and select channels yourself.
- Automatically: Use the ‘Recommended Channels’ blocks to trust the system’s suggestions.
Share the current set of channels with third parties, such as colleagues
Click the ‘Share’ icon.

Use the current pack of channels on a permanent basis
Click the ‘Save to package’ icon to the left of the ‘Share’ button. Give the package a unique name so that you can easily find it later in the list of packages in the ‘My packages‘ section.
Launch the project!
Check the important metrics in the box on the right. If you have a special promo code, be sure to apply it and click the ‘Continue’ button.
3. How to Pay for Ad Placement
If your balance is insufficient, the system will prompt you to top up in a convenient way. After completing the payment, you will return to your cart.

4. How to Select the Type of Advertising Campaign
At this stage, depending on the goals of your advertising campaign, you choose the appropriate scenario and click on ‘Continue’.

Important: When your project consists of one channel, you will automatically be switched to the #1 scenario.
Scenario 1 – One post for all channels
This scenario is perfect for those who want to share the same post across multiple channels, including text, images, and links. Here, you can specify a unique publication date and time for each channel. Simply create one promotional post, add the relevant links, and attach an image.

How do I add links?
- you can make hyperlinks using the special icon in the editor or a keyboard shortcut Ctrl+K
- you can add a ‘naked’ link to the text of the post and press Enter or Space to make it clickable.
Watch how the post will look on the channel as you create your ad post using ‘Preview Post’.

Same date and time for each channel
Specify the desired date and time of publication if you want to run promotional posts in a specific period

- Leave the date field empty to run the posts in the format: ‘As soon as possible’.

Separate date and time for each channel
If you wish, you can specify a unique date and time of publication for each channel. To do this, click the ‘Customize’ button in the selected channel and specify the desired date and time of publication in that channel.

Scenario 2 – One post and unique links
Choose if you have one text for the post but you want to use unique links for each channel to track the effectiveness. For example, you want to place ads in the channels of the same topic.

In this format, you create one Masterpost, which is automatically assigned to all channels from your project.

Masterpost contains:
- Image – same for all channels
- Text – same for all channels
- Links that can be inserted in words or added separately. To customize unique links for channels, you need to click the ‘Customize’ button in the respective channels below.
The default date and time of publication are the same for all channels. To set a different date and time for each channel, adjust the settings individually below each channel.
General rules for specifying the date and time:
- Specify the desired date and time of publication if you want to run promotional posts in a particular period
- Leave the date field empty to run the posts in the format: ‘as soon as possible’
Below the Masterpost box, you will see the ability to edit the post for each channel. By clicking the ‘Customize’ button, you will be able to replace the links with unique links, as well as specify the date and time of publication just for this channel, if necessary.

Important: When you change the link in the ‘Link in Text’ field, it automatically changes in the post for the selected channel.
After the launch of the advertising campaign, channel administrators will receive posts with unique links.
Scenario 3 – Different posts and unique links
Maximum flexibility and user-friendly interface, which is suitable for advanced users.
The scenario is suitable for cases when a selection of channels includes channels of different topics and languages, so there is a need to use different visual materials for the channels.

- In this format, you create Masterposts (Templates), which are automatically assigned to all channels from your project.
- In this format, you can create unique advertising posts with text, photos, and unique links for each channel without templates
If you decide to work with templates [optional]
- In the window, you will see a text editor for the post and a picture uploader.
- Enter the text and add a picture corresponding to the first unique creative.
- The template will be saved automatically.

Decided to create a second unique template?
- Click Choose a different template > Create a new template > Replace the current text with other text and upload a different picture > Give each of the templates a name.
Decided to change the information in one of the templates?
- Select the required template from the list
- Add or change the content inside the post or upload another picture
- The template will be saved automatically. All updates will overwrite the current template without creating a new one.
How to set up unique posts or templates for each channel
Go to the channel list. If you created templates, select the one you want from the drop-down list and other customizable unique links, as well as the date and time.

5. Switching between types of advertising project
If, during the creation of an advertising project, you realize that you want to change its type (e.g., initially creating advertising posts according to scenario 1 without unique links, but later deciding to use UTM parameters for each channel), follow these steps:
- Click on the ‘To Cart button to return to the previous step

- Click > Change Project Type > Continue > Select a new project type and click Continue

6. Run the project
After posting, click on the ‘Run Project’ button.
Do you have any questions?
Stay up to date with the latest news
📱 Read our Telegram channel to stay up to date with the latest Telegram marketing news and updates to our service.


